Have you ever found yourself in the middle of a baking spree, apron on, ingredients scattered across the counter, only to realize you need self-rising flour? Don't let a missing ingredient deflate a fun day of baking.
Making your own self-rising flour is ridiculously easy. Using only a few common ingredients, the recipe can save time and effort when making biscuits, pancakes, scones, and other baked goods.
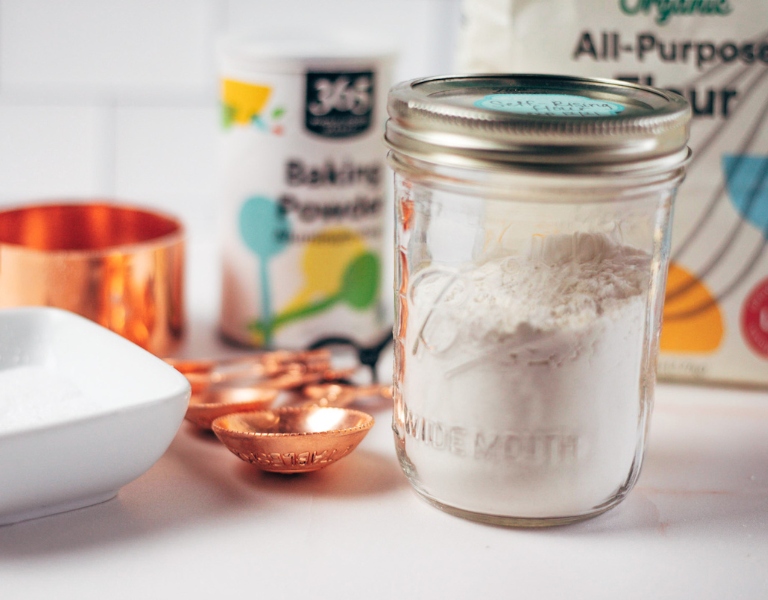
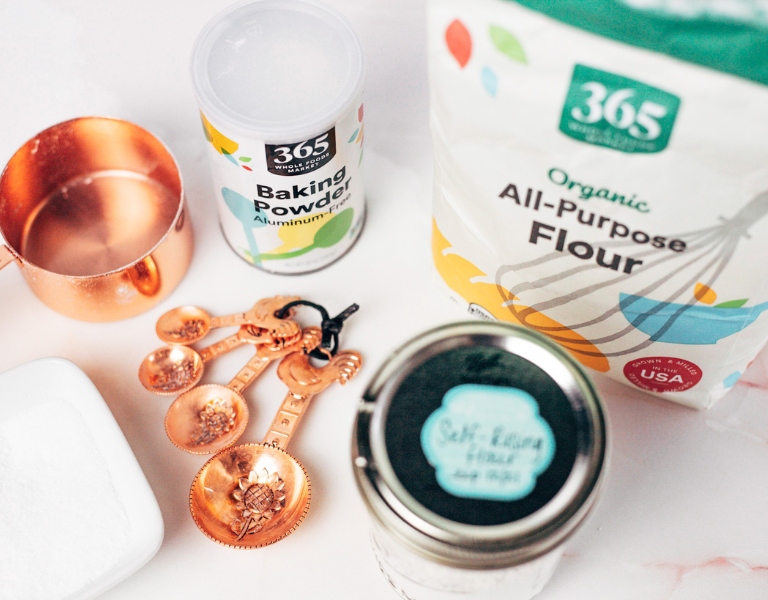
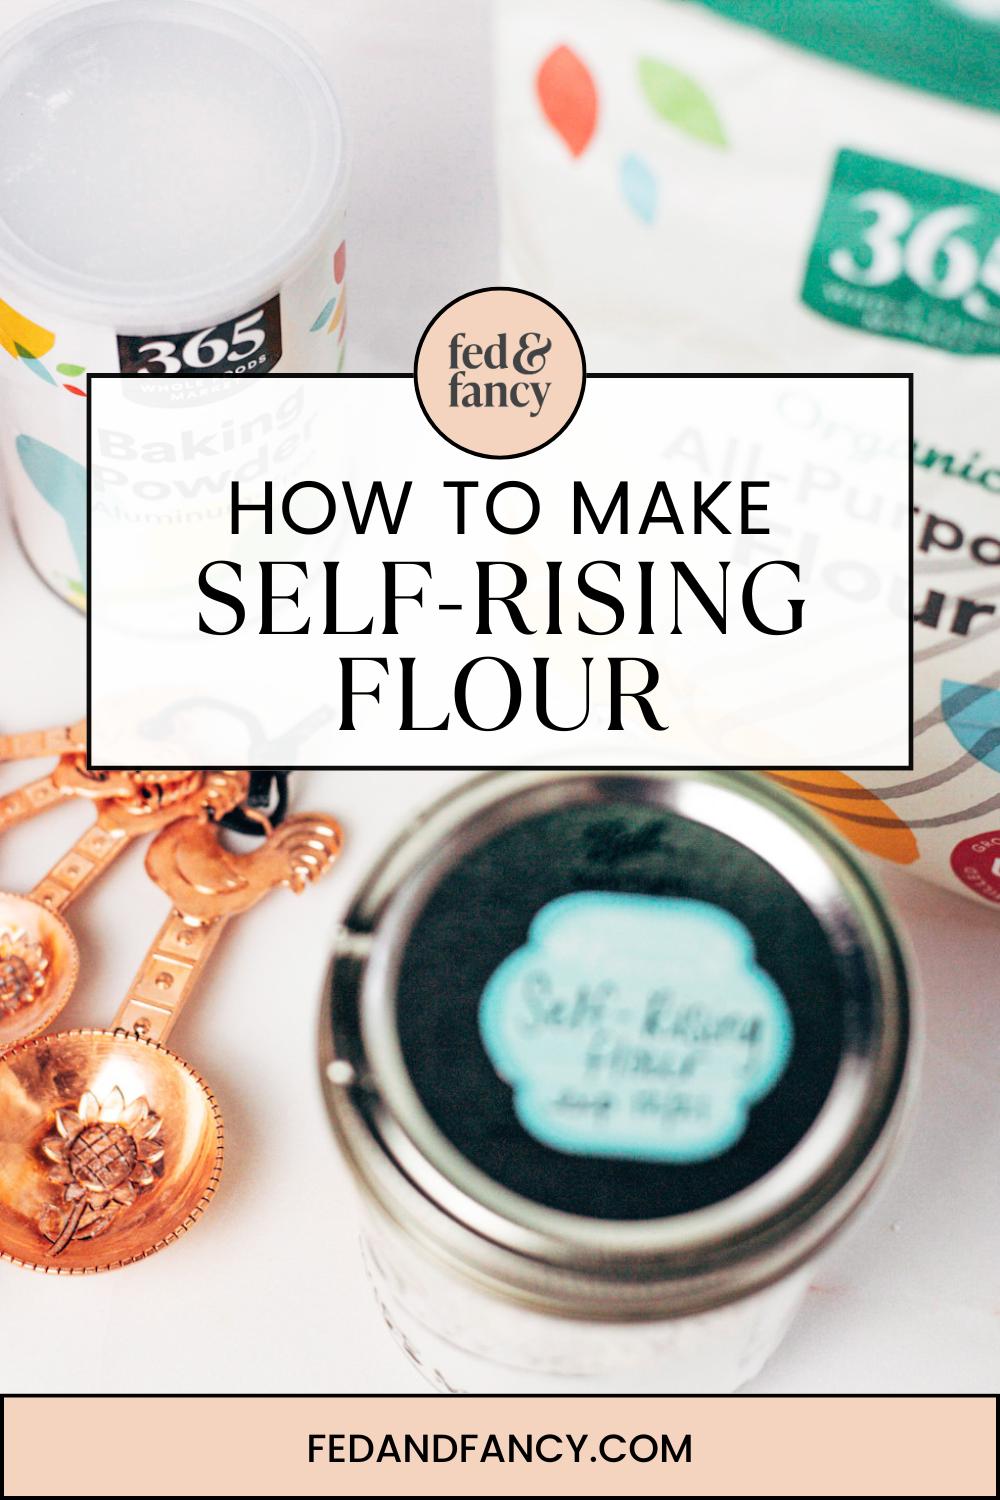
Whisk together these three basic baking ingredients to have self-rising flour ready in minutes. Store it in a cool, dry place and have it on hand for quick mixing and baking.
Tips for making self-rising flour
When you whip up a batch of self-rising flour at home, it’s not just about the ease and satisfaction—it’s also about freshness. However, it doesn’t have the shelf life of its storebought counterpart due to the absence of preservatives.
If stored properly, your homemade blend will typically stay fresh for about four to six months. Still, you'll need to follow a few steps to maximize its stability and quality.
- Keep it cool: you can use a glass mason jar as long as it stays away from excessive heat. Avoid storing it above or near your oven or stove where it's likely to get hot.
- Keep it dark: avoid direct sunlight exposure or store it in a dark container. Exposing the container to sunlight will reduce its shelf life and effectiveness.
- Flour: use the freshest flour you have available. Whisking or sifting it prior to mixing everything together will ensure there are no clumps and each portion contains the proper ratio of ingredients.
- Baking powder: your self-rising flour will only last as long as the expiration date on your baking powder. If the baking powder expires sooner than four months, your batch will also expire. Use a new jar of baking powder for best results.
Self-Rising Flour Recipes
Now that you have this helpful baking ingredient, you may be wondering what you can bake with it. Luckily, there are plenty of simple, easy recipes that you can make (and, save time!).

Lemon Ricotta Pancakes
Your friends and family will love this lemon ricotta pancakes recipe. Light, fluffy, and brightened up with lemon zest and fresh blueberries. Serve with powdered sugar or maple syrup!

Fluffy Cream Biscuits
These light and fluffy cream biscuits require only two ingredients and are ready in minutes!
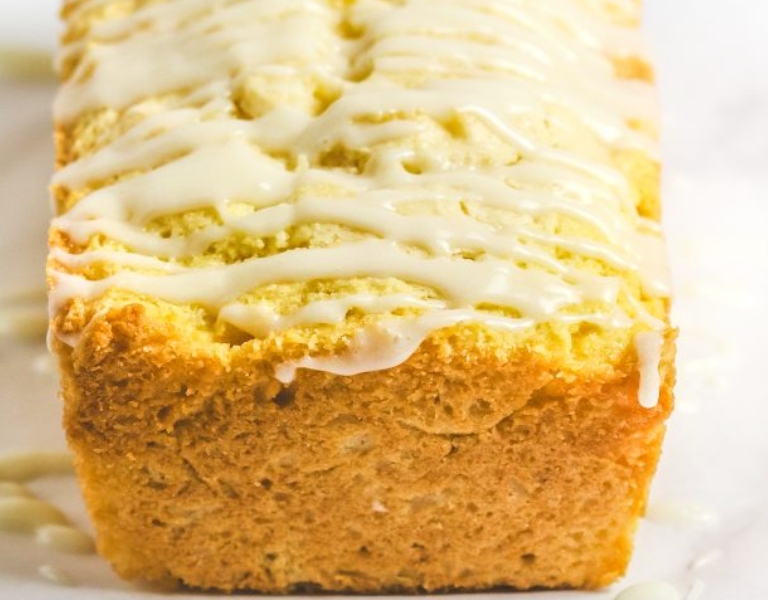
Sour Cream Pound Cake
This recipe from This Baking Life is moist and tangy, with the perfect texture!
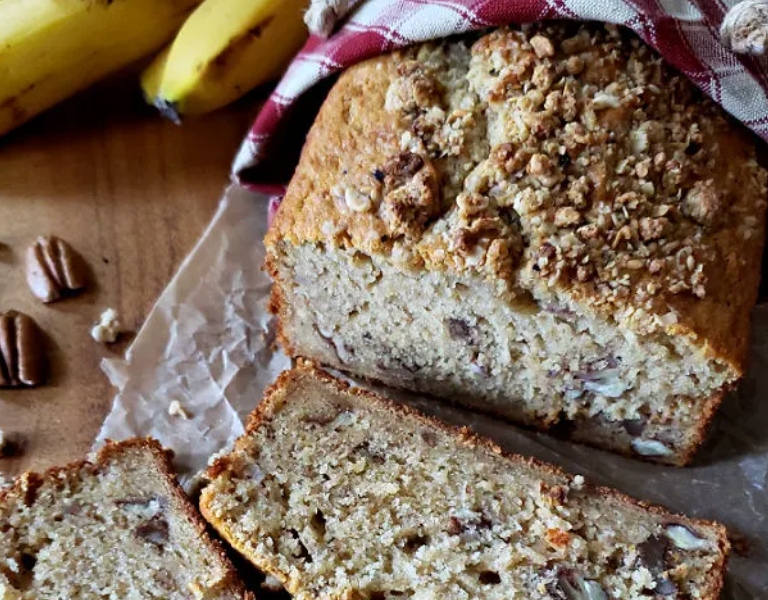
Easy Banana Bread
Julia's Simply Southern recipe for banana bread with self-rising flour is decadent and fun to make!
Self-Rising Flour

Prepare self-rising flour with just 3 simple ingredients for use in pancakes, biscuits, and baked goods.
Ingredients
- 1 cup all-purpose flour
- 1 ½ tsp baking powder
- ¼ tsp salt
Instructions
In a bowl, whisk together flour, baking powder, and salt.
Use immediately or store in an air-tight container and keep in a cool, dry place.
Notes
Store for up to six months, or by following the expiration date of the baking powder.
For larger batches, simply multiply the recipe and store in an airtight container in a cool, dry place.


Leave a Reply